Showing posts with label quick and easy. Show all posts

Sunday, March 20, 2011

Chocolate Frogs and Owl Pops

SPRING BREAK! WOO!
...This means nothing to me except that I can finally relax for a week. (Maybe.)
So to celebrate, we've got a Harry Potter themed entry today!Anybody who's read/seen Harry Potter knows about chocolate frogs. They're enchanted little bits of candy that can hop around like real frogs (But Ron Weasley says that they've only got one good jump in them). Well, I found the mold for them online, and saw molds for owl lollipops so I bought that, too!There's really not much to say about these! They're super easy to make, and quite impressive. You could use chocolate chips, which I did for my first batch, but melted chocolate chips get a little bit sticky, so it's not optimal. Use candy wafers instead! Hobby Lobby has a great selection: Milk chocolate, dark chocolate, mint chocolate... I even used peanut butter wafers, and mixed in some butterscotch chips for one batch. YUM!Hobby Lobby (and I'm sure any craft store) also has a selection of candy molds, though they're more generic things like flowers.Chocolate Frogs and Owl Pops Recipe
  • Candy molds
  • Small lollipop sticks (if necessary)
  • Candy wafers (1-2 bags)

Preparation

  • Melt candy wafers according to the directions on the back of the package.
  • Pour melted chocolate into the molds.
  • Optional: Put the chocolate into a piping bag, and cut off the tip. This allows more precise filling.
  • If making lollipops, put the stick in the slot and twirl in the chocolate to cover it. Cover with a bit more chocolate.
  • Tap the molds on the counter a few times, to get any air bubbles out.
  • Put in the fridge for ~15 minutes or so, to set.
  • Carefully turn upside down, and press to release.

Tuesday, March 1, 2011

Fudge

Man, these blog posts keep getting further and further apart..
Oh well!

I wanted to branch out and try something new, and somebody recommended that I try fudge.

I've always been a little intimidated by it.. I mean, it involves boiling something, stirring constantly, not burning it (burning stuff comes so naturally to me!)... it's a lot, right?

Ingredients before they're mixed

WRONG-O!

Because that's what microwaves were invented for!

I hadn't even thought to make this in the microwave until I asked my mom for advice, and she gave me the "Duh, Taylor, how did you not think of that?" tone.

Making fudge just got a whooole loooot easier!
I didn't have any square cake pans on hand, and mom had said that a 9x13 pan was too big, so I used a round cake pan instead. It made for thick pieces, but you can cut them small! But something slightly larger than a 9x9 pan is preferable.

And most importantly... my friends enjoyed it! Yay!
Fudge Recipe
  • 1 1/2 sticks margarine (I'm sure butter would work too, we're just a margarine family)
  • 3 c sugar
  • 2/3 c (aka 5 oz aka 1 small can) evaporated milk
  • 1 small (7 oz) jar marshmallow creme
  • 1 tsp vanilla
  • 12oz package chocolate chips
  • Optional: 1 c chopped nuts
  • Note: This recipe is on the back of the marshmallow creme container! But it calls for baking squares-- far more expensive than chocolate chips!

Preparation

  • Melt margarine in microwave in a 2 qt, microwave safe dish.
  • Add sugar and milk; mix well.
  • Microwave for 3 minutes. Stir.
  • Microwave for 2 minutes. Stir.
  • Microwave for 5.5 minutes. Stir.
  • Remove from microwave, and add marshmallow creme and vanilla.
  • (Note: Running your spatula under hot water first will get the creme out easier!)
  • Once that's mixed, add your chocolate chips.
  • Mix until well combined and pour into a buttered pan.
  • Place in fridge to set firmly, or leave at room temperature for a more gooey texture.

Sunday, January 9, 2011

Brown Bag Biscuits

My dad is off on a hunting trip, and as my mom says.. "While the cat's away, the mice can watch as much Harry Potter as they want!" So that's what we've been doing!

Last night we had giant, frozen strawberry daiquiris and watched Harry Potter and Despicable Me! And this morning, more Harry Potter. We also had bacon, eggs, and brown bag biscuits!

I haven't eaten these since junior high. They were one of the very first things that I learned to bake on my own!
While they're -called- brown bag biscuits, I didn't actually use a brown bag. That just spells a mess for me! But "bowl biscuits" isn't as catchy.

I always forget how much I love these until I make them. They remind me of monkey bread, but they're much less sticky. They're easier to make and eat, too. And, personally, I find them tastier.
The most important part of the recipe, to take a page from Paula Deen's book, is not to run short on the butter! You dip the biscuits in it, but you also pour the remaining butter over the biscuits before baking, so don't skimp.

You can serve these on a plate like I have in the picture, but...c'mon. They're so much better right out of the pan, where they can sit and soak in the butter!

Brown Bag Biscuit Recipe

  • 3/4 c sugar
  • 1 + 1/2 t cinnamon
  • 1/2 t nutmeg
  • 1/4 t allspice
  • 1/4 t ginger
  • 6 tbsp butter, melted
  • 1 container of biscuits

Preparation

  • Preheat oven to 400
  • Spray a 9x9 cake pan well with Pam.
  • In a small bowl, melt the butter.
  • In a medium bowl, combine all of the dry ingredients.
  • Cut the biscuits in 1/2 if small biscuits, or 1/4 if larger biscuits.
  • Dip the biscuit pieces in butter, then drop into the bowl with the spices. Coat well.
  • Line pieces up in a single layer in the cake pan as you go.
  • Once finished, sprinkle the remaining spices over the biscuits, then drizzle remaining butter.
  • Bake 10-12 minutes, until brown, or when the center biscuit is done.
  • Note: You can serve these on a plate as I've done in the picture, but they're better right out of the pan, where they get to sit and soak up the extra butter!

Monday, December 27, 2010

Dumplin's

This isn't a baking entry; this is a cooking entry! Whoa!
But it's not REALLY cooking, so..it's okay.
These are "dumplins", NOT "dumplings." That's just way too formal. I'm talking "we gotta cook up some dumplins" here! And this recipe is for chicken/turkey based dumplins, but you can use beef stock/juices instead.
My dad grew up eating these, but I consider them a special treat. I'd never even made them before today! It was actually really fun making them. You have to make sure that the liquid is hot enough, because it helps bind the ingredients and draws them off of the spoon.
Dumplins are cheap, easy, and sooo tasty. And they're so good dipped in ketchup!

Dumplins Recipe
  • 2 cups flour
  • 4 eggs
  • 1/4 c milk
  • 2 containers chicken stock (not broth)
  • Optional:
  • If you decide to cook a chicken or turkey, you can use the leftover juice with the chicken stock! Dumplins are a good "day after" meal, for if you have chicken or turkey!

Preparation

  • Put the chicken stock (and optional chicken/turkey juice) in a large pan. Bring to a rolling boil.
  • Put the eggs in a large bowl. Break the yolks and stir to combine.
  • Add in the flour and milk, and FOLD together with the egg.
  • NOTE: Rough stirring will add too much air, which will make them large and flat. Hence folding!
  • NOTE: The mix will be thick, like a heavy dough. You want it this way!
  • Turn the stock down to medium-low. Scoop about 3/4 spoonful of the mix and dip in the mixture. When hot enough, the stock will draw it off of the spoon.
  • Repeat until the bowl is empty of mix. Cook dumplins for 10 minutes minimum.
  • After 10 minutes, cut one open to make sure it's done inside.
  • Serve as a side or as a meal, with or without ketchup!

Tuesday, November 23, 2010

Diabetic Friendly Chocolate Mousse Pie

Here's another good recipe! Good in many different ways, too. Good: For you; for your wallet; if you have a busy schedule.
You only need four ingredients: A ready-to-use graham cracker crust, one box of pudding, one container of Cool Whip, and milk. What makes it healthy is that the pudding is sugar-free and fat-free, and the Cool Whip is fat-free as well. (An optional fifth ingredient is chocolate for the chocolate curls on top.) I honestly didn't look at the nutrition facts for the crust, but I think with how healthy the mousse is, it shouldn't make that big of an impact.
Chocolate curls are SO fun to make! Now, online it says to use a cheese slicer, and a large block of chocolate. I used a vegetable peeler, and a chocolate bar. The trick is to make the chocolate soft enough that it'll sculpt into the form you want, but if it's too soft it'll just melt. I just bought a regular Hershey's bar and practiced with it. Now, this takes away from the 'diabetic friendly' label, but it's completely optional!

Diabetic Friendly Chocolate Mousse Pie Recipe
  • 1 ready-to-use graham cracker crust (Chocolate, if possible)
  • 1 - 1.5oz package sugar-free/fat-free chocolate pudding mix
  • 1 2/3 c skim milk
  • 1 - 8oz container fat-free Cool Whip, thawed
  • OPTIONAL:
  • Chocolate curls, or chocolate chips

Preparation

  • In a large bowl, whisk together pudding powder and milk.
  • Once well combined, add 4oz (1/2 container) of Cool Whip. Fold in carefully-- over mixing will cause the Cool Whip to lose its form.
  • Spoon into crust and smooth out.
  • Top with remaining Cool Whip, and chocolate curls if desired.

Chocolate Curls Recipe

  • One bar of chocolate (or a few, for practice)

Preparation

  • Put patterned-side down and carefully heat in microwave, making sure not to melt the chocolate. (I used a paper plate, but cut off the raised edges so I could have a flat surface to work on.) Heat ~ 10-15 seconds on 70% heat.
  • Using a vegetable peeler, carefully guide the blade along the chocolate.
  • The amount of pressure/speed will determine how large or loose your curls are.
  • If the chocolate flakes, put it in the microwave for a few more seconds.

Tuesday, November 16, 2010

Almond Bark Popcorn

One of the best tastes in the world is when sweet and salty are combined-- it's why chocolate covered pretzels are so good! As it gets closer to the holidays, I find myself craving all of the holiday treats that I haven't had in a whole year.
This is one of my favorites! Fast, easy, delicious, and sooo tasty. Trust me when I say that you can't eat just one bite of this. You'll be lucky if you don't eat the whole batch. ;)
I overdid it on the Almond Bark, so do NOT add a whole block of it like I did. It just didn't look like the popcorn was completely covered, so I kept adding more. It's still great, but the sweetness overwhelms the popcorn. 2/3 of a block would probably be a much better amount.

Almond Bark Popcorn Recipe
  • 1 bag of 'natural'/unbuttered popcorn
  • 2/3 package of white Almond Bark

Preparation

  • Pop popcorn according to the instructions on the bag.
  • Empty into a large bowl, and pick out any unpopped kernels ("old maids" as my mom calls them!) or burnt pieces.
  • Melt Almond Bark according to instructions on the package.
  • Pour over popcorn, then use a mixing spoon to mix the two together.
  • On a large sheet of wax paper, pour the popcorn from the bowl and use the spoon to press it out into a thin layer.
  • Let cool/dry completely.
  • Once hard, break off into pieces and serve or store.

Sunday, November 7, 2010

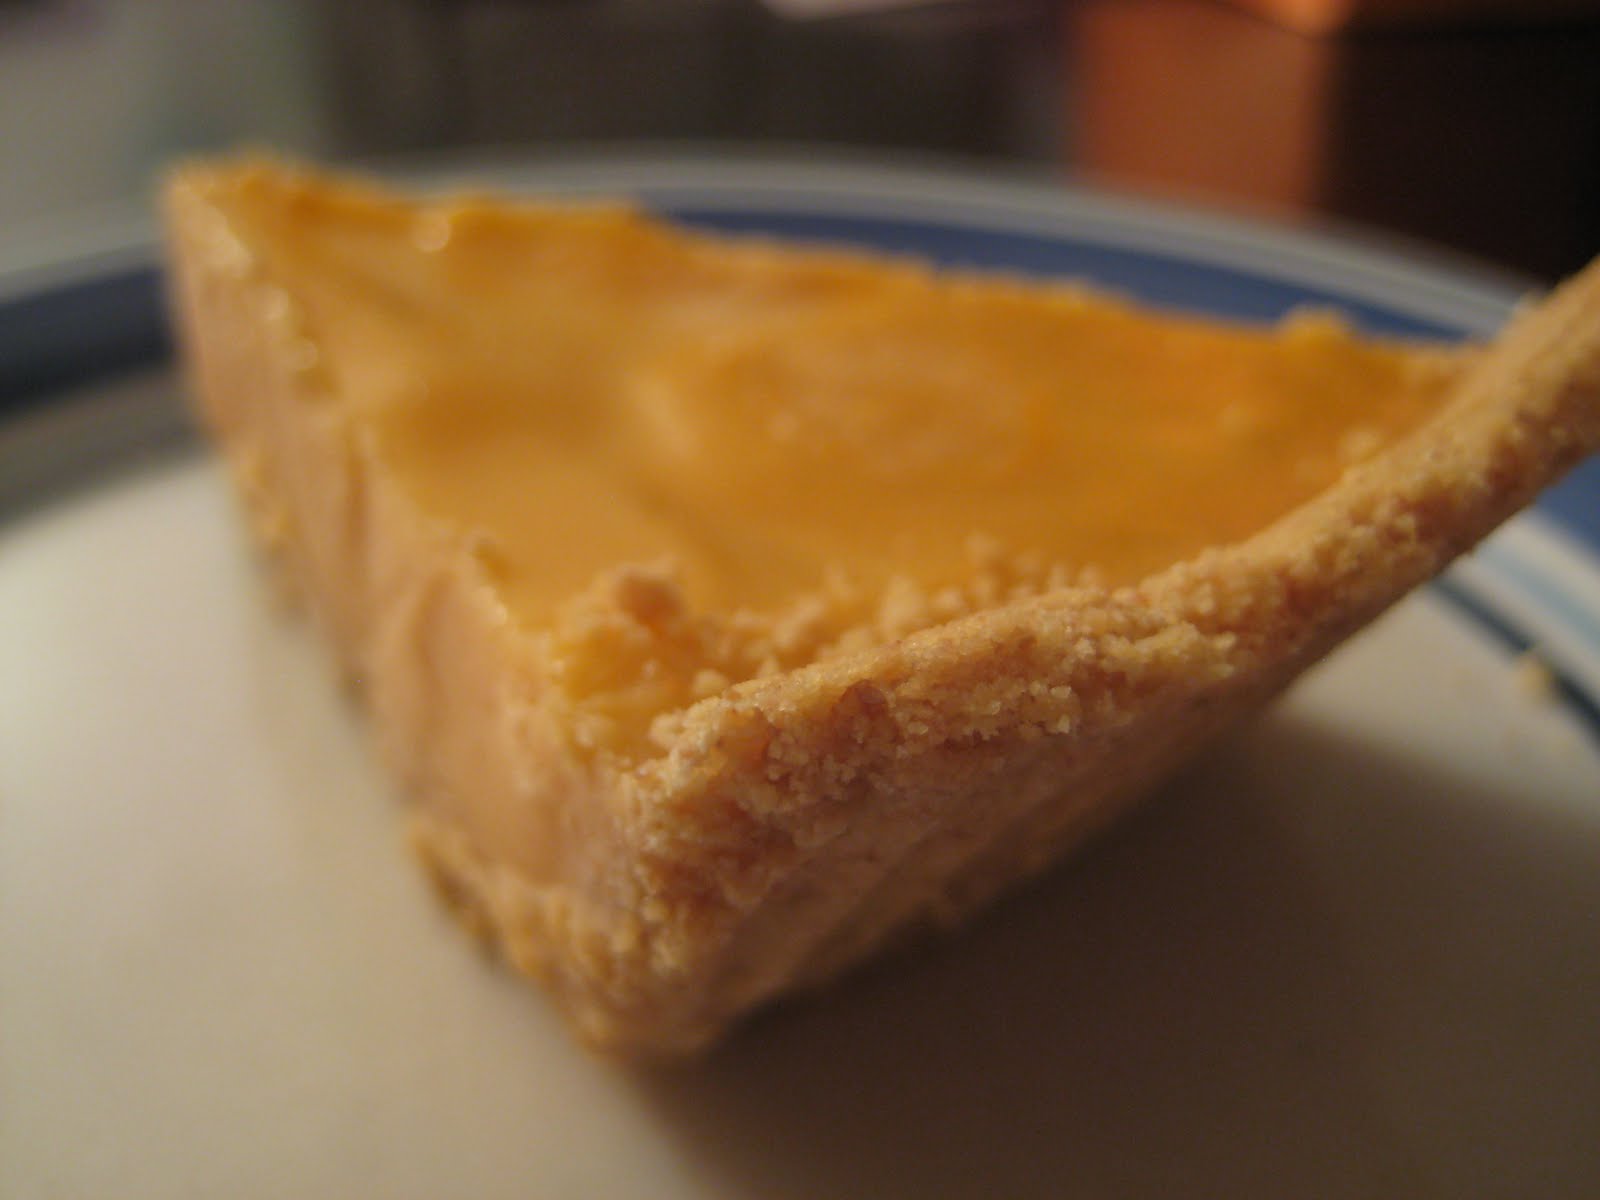
Pumpkin Fro-Yo Pie

At work, we'll be getting "yogurt pies" soon! Think of it as a twist: Instead of ice cream cake, it's frozen yogurt pie. Nomnomnom.

Being the impatient person that I can be, I wanted to try one out myself. A couple of days ago our pumpkin yogurt was being changed out, so after work I filled up a cup with that and only that, and brought it home. I had a graham cracker crust waiting to be used too, so I thought, perfect!
This is the easiest, and strangest, and most delightful pie! Pumpkin yogurt, for example, tastes exactly like pumpkin pie. (Or in my case, better, as I've never been much of a normal pumpkin pie girl.) It just adds this odd new element! Plus, you only need two ingredients and a freezer.

I can only assume that this will work best with soft-serve frozen yogurt, not ice cream because the consistencies are different. With all of the fro-yo stores popping up, I bet it'd be easy to find one, and then all you have to do is pick your flavor!
Pumpkin Fro-Yo Pie Recipe
  • 16 oz (1 pint) of frozen yogurt, your choice (more if you don't want that top 'lip' of crust)
  • 1 - 9" graham cracker crust

Preparation

  • Preheat oven to 250
  • Heat crust for about 10 minutes, just to firm up. Then let cool completely.
  • Pour yogurt into crust, and smooth out/flatten with a rubber spatula.
  • Put into freezer for ~3 hours (or overnight) to fully firm up.
  • Serve!

Saturday, October 30, 2010

Oreo Ghosts

I was going to post this on Halloween, but I figured I'd post it the day before in case you want to actually make these festive treats!

Oreo ghosts are the same as oreo balls, just shaped differently. I also consider them easier to make, too, because with oreo balls you roll them, then freeze them, then dip them. With the ghosts you shape them, then spoon the almond bark right over them!
With these, it's definitely a "slow and steady" scenario. If you quickly dump the almond bark on, it'll get lumpy and won't cover evenly. So instead, go slowly. Spoon a decent amount over with a plastic mixing spoon (it acted weird when mom and I tried to use a metal spoon) and then use the back of the spoon to guide the almond bark where you want it to go.

Be sure you add enough for them to have a cute little "skirt" at the base, to make sure they really look like ghosts!
Adding the eyes is the most fun part to me!

Let the almond bark completely harden before adding the eyes, or you risk the almond bark simply sinking back into itself, or cracking the soft shell. Take a toothpick, and push it through the almond bark. If you twist the toothpick once embedded, you can create a larger eye socket.
And be sure to experiment with different little shapes! My favorite is the ghost with his little ghost head cocked! It's love at first spook. ;)

Oreo Ghost Recipe

  • One package Oreos
  • One package full-fat cream cheese, softened
  • One package white Almond Bark

Preparation

  • Finely crush the Oreos. (Mom and I used a food processor this time. Or, put them in a large bag, and smash up with a rolling pin.)
  • In a large bowl, blend together with cream cheese until fully combined.
  • Chill for 30-60 minutes, to make it easier to handle.
  • On a sheet of wax paper, roll out oreos to 1-2" tall, with varying heights and widths.
  • Chop up and melt Almond Bark, adding in vegetable oil if necessary to make it runny enough.
  • Spoon A.B. over the oreo shapes, using the spoon to guide it along the ghosts to make sure they're fully covered. (Watch out for their butts! Mom and I miss those most often.)
  • Let fully harden, then use a toothpick to form their eyes.


Thursday, October 28, 2010

Candy Melt Pretzels

Halloween is fast approaching! Today mom came up and we made treats.

I don't know if they have a name, but she's made them before for Christmas, and wanted to make Halloween ones! Notice how they're all Halloween colored?
And since they use pretzels, candy melts, and M&Ms, I figure "Candy Melt Pretzels" is easy enough.

These are easy. SO easy, in fact, that I don't even need to put a recipe guide below. I will anyway, but it's astonishing how easy these are. I mean..have I mentioned how easy they are?
I'm just going to fill up this post with pictures!

Candy Melt Pretzels Recipe

  • One package pretzel Snaps (The square/grid kind)
  • Candy Wafers (Purchasable at craft stores like Hobby Lobby, and Wal-Mart)
  • M&Ms (one large, or a few small bags)

Preparation

  • Preheat oven to 200
  • Arrange Snaps on a cookie sheet, in one flat layer.
  • Top each with one candy wafer (the color is your choice!)
  • Put into oven for 2-3 minutes, until you can press an M&M into the wafer without any resistance.
  • Remove from oven, press M&Ms into remaining wafers. Let cool/harden!

Monday, October 18, 2010

Orange Dreamcicle Cheesecake

Laura and I took a daytrip to the Louisburg Cider Mill this weekend! Suuuuch a fun day!

It's like heaven in a country store!

Along with all of the cider, and cider doughnuts I bought, I also bought a jar of peach butter, some caramel apple sprinkles (which taste like french vanilla, actually), and a package of "orange dreamcicle cheesecake mix." (OH! AND SORRY! The next two pictures did that automatic-rotate thing and I can't get them back. Head, meet shoulder.)

I'm trying to find a recipe to use peach butter in, but no luck so far, and I might do something with the cider, but for now I went with the mix.
You can't buy this mix in any regular store I don't think, but you CAN order it online. The cheesecake was really really sweet, but reminded me of those orange ice cream push-pops-- you know, the Flinstones ones. Quite tasty! You can buy the mix at http://www.peculiarspice.com/ named for Peculiar, Missouri. You can probably make this from scratch too, but I never would've thought of it!

Hamilton helped me today, instead of Maisy! (aka: handheld vs kitchenaid)

Orange Dreamcicle Cheesecake Recipe

  • 1 package O.D.C. mix (see website above)
  • 2 - 8oz packages cream cheese, softened
  • 3/4 c milk
  • 1 graham cracker crust

Preparation

  • Combine packaged mix, cream cheese, and milk in a large bowl. Beat until well blended.
  • Put into graham cracker crust.
  • Chill until served!

Monday, October 4, 2010

Cinnamon Apple Slices

Fall is here! It smacked me in the face last night when the temperature dropped to 36 and my room was freeeeezing. So what better day to celebrate autumn than with cinnamon sugar apples slices?I love apple pie, but I have one measly issue: I don't like the crust. I'm not a crust person! With french silk pie (my favorite!) I eat the chocolate and the whipped cream, and leave a triangle of crust sitting on my plate when I'm done. So I figured I'd make the cinnamon apples without that pesky crust getting in my way.

There were a lot of recipes online, but none were really what I was looking for. Several call for brown sugar, which I was going to try, but my brown sugar smelled weird, like it had gotten mixed in with allspice and ginger or something. And of course, when something smells weird it'll taste weird too, so I didn't want to risk it.
I wound up using three small Granny Smith apples (because the store only had small ones. Uh..okay?) and a simple cinnamon-sugar mixture. The brown sugar surely would've made it thicker, but this was still pretty tasty.

This recipe is the epitome of my "quick and easy" tag: Three ingredients, two and a half minutes in the microwave. The only thing that takes time is the peeling of the apples, but really, how much longer does that take?
Cinnamon Apple Slices Recipe
  • 3 small Granny Smith apples
  • 1/2 t cinnamon
  • 1/3 c granulated sugar

Preparation

  • Peel, quarter, and slice each apple.
  • Cut each quarter into relatively thick slices.
  • Mix cinnamon and sugar in a separate bowl. Slowly sprinkle over apple slices, stirring to ensure that it's evenly distributed.
  • In a large, microwave safe bowl (I have a large ceramic dish that resembles-- or is?-- a giant ramekin) put the apples in layers, preferably as even as you can.
  • Cook on high for 2-5 minutes (our microwave heats HOT)-- I did for 2.5 minutes-- until the apples are soft.
  • Stir, then let sit so the apples absorb the liquid. Stir again, then enjoy!

Monday, September 13, 2010

Mini Cinnamon Rolls

These are the cutest and most delicious thing I've eaten all week!

I found a recipe online, but looking at it the measurements didn't sound right, so I tweaked it and made my own! They are SO tasty, and also filling. I had one and was satisfied, so (hopefully) you can share the batch with others. I wouldn't blame you if you didn't though.

My roommate loved them, too. I had two rejects (they weren't pretty enough!) and she gobbled them up. And they're so easy!
You'll have extra cinnamon sugar, because I just used an old mixture amount that I knew worked, but save it. Have some tasty toast later. :)

Mini Cinnamon Roll Recipe

  • 1 can of Pillsbury crescent rolls (that says it has 8 rolls)
  • 1/4 c sugar
  • 2 tsp cinnamon
  • 3 tbsp butter

Preparation

  • Preheat oven to 375
  • Carefully unroll the crescent rolls, so you have 4 rectangles instead of 8 triangles.
  • Pinch, then press the perforations together to seal them.
  • Melt the butter. Brush, or spoon and rub across the rectangles.
  • Mix together cinnamon and sugar. Sprinkle over each rectangle until coated.
  • Roll the rectangle up starting with the short end. Slice into 5 rolls.
  • Place, cut side down, into a lightly greased/parchment paper covered 9" cake pan (round or square)
  • Bake for 15-20 minutes, until golden brown.
  • Let cool slightly, and top with glaze.

Glaze Recipe

  • 1 1/2 c powdered sugar
  • 3 tbsp milk (or apple juice? The recipe said that-- I've never tried it!)

Preparation

  • Mix together until totally blended and smooth. Drizzle over rolls.

Monday, September 6, 2010

No Bake Cookies

Happy Labor Day!

In the spirit of Labor Day, and being off work, I decided to put the least amount of effort possible into baking. Well that, and I wanted to make something quick and fool-proof to take to my writing group tonight (as a reward for the people who show up on a holiday!)

Not wanting to go to the store, I decided to bake with what I had around the house, and wound up re-discovering no bake cookies! I haven't made them for yeaaars.
Mine ALWAYS seem to come out a little crumbly, but I boiled them for a little less time than normal. I added more oats than I meant to though, so that defeated the purpose!

Afraid that they'd be dry, I melted some peanut butter and drizzled it over them. Super cute!

Now, Wilton's makes this thing called Peanut Butter Drizzle Icing, and I found it on sale (discontinued, I believe) so I bought it awhile ago. It tastes...funky. Like a bad peanut butter icing. After reading the ingredients list, I'm convinced that it's sugar, chemically altered to taste like peanut butter.
So, even if you see something like this, I suggest just taking the 45 seconds extra to melt the peanut butter.

No Bake Cookie Recipe

  • 1 3/4 c white sugar
  • 1/2 c milk
  • 1/2 c (1 stick) butter
  • 4 T cocoa powder
  • 3/4 c peanut butter (I prefer creamy)
  • 3 cups quick oats

Preparation

  • Line two cookie sheets with waxed paper; set aside.
  • Combine sugar, milk, butter, and cocoa powder in medium sauce pan over high heat. Stir often to combine.
  • Bring to a rolling boil. Once it begins to boil, heat one minute longer, stirring often still.
  • Remove from heat. Add peanut butter and stir until melted/combined.
  • Stir in 2 1/2 c oats, then slowly add in the rest of the oats, or enough to get the consistency you desire.
  • Drop immediately onto the waxed paper, in whatever size you prefer. Leave to cool.

Optional Peanut Butter Drizzle

  • Melt about 1/2 c peanut butter on 50% heat in the microwave for 45 seconds, stirring halfway through.
  • Pour into a Zip-Loc bag. Snip off a small corner of the bag.
  • Drizzle!